From Fire Button to Vapor: What Actually Happens Inside Your Mod's Boot Sequence
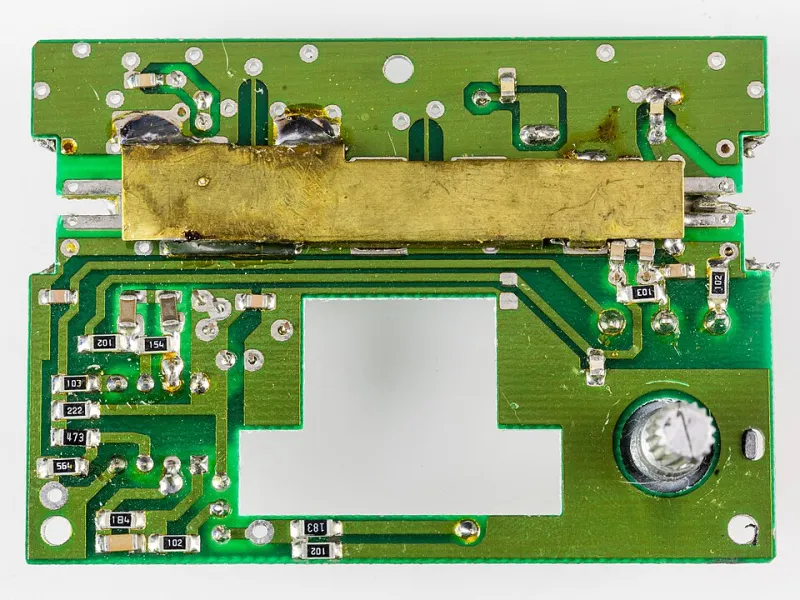
Photo: Raimond Spekking, CC BY-SA 4.0, via Wikimedia Commons
You press the fire button. Somewhere between that click and the first hint of vapor, your vape mod runs a sequence of operations that would look right at home in a hardware teardown blog. Most users never think about it. You're not most users. Let's pull back the panel.
The Silicon at the Heart of It All
Every modern mod runs on a chipset — the Evo DNA boards, various in-house chips from manufacturers like Vaporesso and Geekvape, and dozens of others. At their core, these are microcontrollers: a processor core, flash memory for firmware, ADCs (analog-to-digital converters) for reading the battery voltage and atomizer resistance, and a PWM or buck converter output stage that actually delivers power to the coil.
When you insert a battery or flip the switch, the MCU comes out of a low-power sleep state. Boot time is deliberately aggressive because nobody wants to wait for their vape to POST.
Step One: Firmware Initialization
The chip loads its firmware from internal flash — this is the code that defines everything from your wattage curve to the OLED menu system. Higher-end chipsets like the DNA series let you modify parameters via software (Evolv's Escribe), effectively giving you root access to your device's behavior. Firmware initialization sets up the GPIO pins for the fire button, initializes the display driver, and configures the ADC sampling rates.
Step Two: The Safety Gauntlet
Before your mod will fire anything, it runs a checklist that would make an aerospace QA team nod approvingly:
- Battery voltage check. Below roughly 3.2V per cell? The mod refuses to fire and warns you. Lithium cells get genuinely dangerous when over-discharged.
- Short circuit detection. The chip measures resistance across the atomizer. A dead short (near-zero ohms) or an open circuit (infinite resistance, meaning no coil connected) triggers a protective halt.
- Resistance stability check. The mod pulses a tiny, imperceptible current to measure coil resistance. In temperature control mode, this baseline reading is what the chip compares against throughout your draw to estimate coil temperature — a resistance reading taken while the coil is hot would throw off the whole calculation.
This is why your mod displays 'Check Atomizer' instead of just trying to fire into a short. That error message is the safety system doing its job.
Step Three: The Handshake and the Hit
Once checks pass, the chip enters its idle-ready state, display showing your wattage, and waits. Press fire, and the real-time loop kicks in: the MCU samples battery voltage, calculates the duty cycle needed to hit your target wattage, and drives the output stage accordingly — hundreds of times per second, adjusting in real time as the battery sags and the coil heats.
The ramp-up time you feel — that fraction of a second before vapor production peaks — is a genuine performance spec, shaped by the chipset's control loop speed and the output stage's efficiency. It's the vaping equivalent of input latency, and it's why some chips feel snappier than others even at identical wattage.
Why This Matters
Understanding the boot sequence turns your mod from a magic box into a system you can reason about. When something fails, you can diagnose like an engineer: battery below cutoff? Atomizer shorted? Firmware glitch? The mod has been telling you all along — you just needed to speak the language.